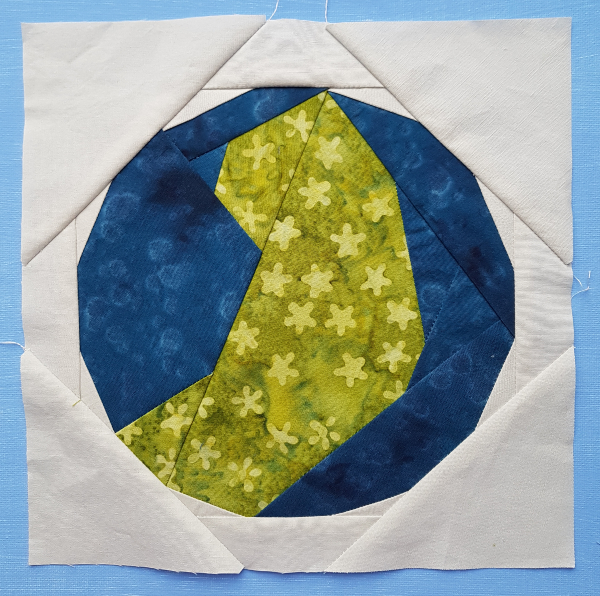
Do you remember the Bloom block I shared last month as part of the It's a Garden Party row along? Well, now it's a finished wall hanging/table topper.
I used a scrap of Warm and Natural batting (yay for using up another scrap piece!) and backed the quilt with the same Northcott solid yellow I used for the flower center. Then I couldn't delay deciding how to quilt it any longer 😄 Anyone else have trouble figuring out how you want to quilt just about everything lately?
I started by outlining each of the flower petals, using Aurifil 2210. Then I sat and stared at the quilt for a while, trying to decide how to quilt inside the petals. Nothing felt right, so finally I decided to leave it for later and do the flower center.
I decided to echo quilt the curve of the edge of the flower center and work my way in, just going from side to side with that same curve, using Aurifil 2135. I quilted most of the circle like that, but it was wobbly and uneven and at that point, it just looked weird.
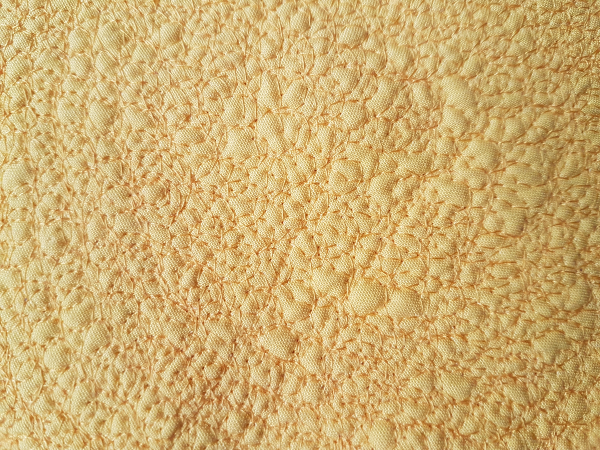
I (briefly) considered ripping out all that quilting, but that didn't appeal at all. The only other option, then, was to quilt something that would obliterate the lines. I decided to scribble all over it, drawing tiny overlapping circles. Each circle overlapped all of the others near it, creating an amazing texture and all kinds of different shapes, while completely obscuring the previously quilted lines. It was really fun to quilt since it didn't matter at all how nicely the circles were shaped.
Once the flower center was quilted, I stared at the petals for a while again, but there still wasn't any inspiration, so I moved on to the background, echo quilting around each flower petal. Yvonne, of Quilting Jetgirl, recently quilted a stipple with loops to represent the pollinators in her
Pistils and Pollen quilt, which seemed like the perfect quilting plan for this oversized flower block. Of course, me being me, I had to quilt it really, really small.
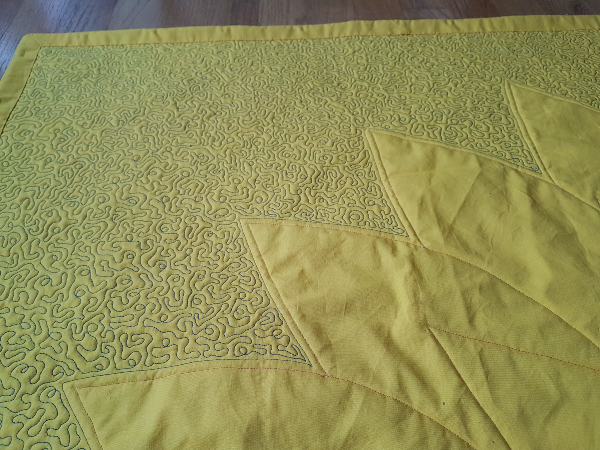
I only quilted a few square inches before I realized that it was impossible to see the Aurifil 2780 on the gorgeous Northcott fabric. The colour match was too perfect. I tried setting up a light so it was coming across the bed of my machine, so it would cast shadows and I could tell where I had already quilted, but that wasn't much better. So I decided to flip the quilt over, put new pins next to all the ones that were already there, then remove the pins on the front, so I could quilt from the back. That royal blue thread shows up A LOT better on the yellow backing!
The way I shape my stipple quilting, individual lines often remind me of the shape of coastlines, with bits jutting out into the water. These are the things I notice while quilting the same shapes over and over and over.
You can't really see the background quilting from the front, but the texture shows up if you're close enough or looking from the side.
By the time I was half finished quilting the background, I had decided that I would leave the flower petals unquilted. You're supposed to quilt the entire quilt with even density, but I really like how the flower petals have more dimension than the rest of the quilt. The flower petals are all made with Island Batik fabrics.
I had enough of the yellow to bind the quilt, but I really didn't want to frame the whole quilt with that bright yellow. I didn't want anything else to frame the whole thing, either, so it was time to learn how to do a faced binding. I found this tutorial from Papper, Sax, Sten which made it super easy. I love that there's nothing showing on the front at all.
It has been a long time since I hand stitched a binding. I used to do all of my bindings by hand, but then I tried machine binding on a set of placemats and I've never looked back. The observant among you may notice that there's about one quarter of the facing not actually stitched down in this picture. That's because the day got away from me and in order to get pictures before the daylight completely disappeared (I had already put it off a little too long), I had to make do with the binding not quite finished. The plan is to finish it after I finish this post, so that by the time you actually read this the quilt will be completely done. You'll just have to trust me, lol.
As per my usual, I added one of my labels to a back corner, not realizing that it would completely disappear when the facing was turned to the back. Oops! It's still there, lol, stitched in under the corner. I'll stitch another one to the facing, where it can actually be seen.
I would just like to say that I am equal parts amused and frustrated by how the yellow looks different in every single picture in this post, depending on when/where it was taken. Getting colours to look true to reality is not my strong suit! In reality, the yellow is somewhere between the last two pictures. Not quite as neon as the last one, not quite as mellow as the one before. I may be getting better with my pictures, but there's definitely still room to improve.
Don't forget to download the Bloom pattern, if you'd like to make one, too. If you do, I'd love to see it!
I want to thank Marian for organizing the It's a Garden Party row along and today's Show and Tell day for designers to share what they made with the block or row that they designed. There are a few others participating in Show and Tell day so you can go check out their creations, too.
Blue Heron Quilting
The Devoted Quilter
Kissed Quilts
Daughters of Dorinda
Kathleen McMusing
Ms P Designs USA
Clever Chameleon
Miss Loreen’s Schoolhouse
Barbara Dieges
Renee’s Quilting Addiction
Words & Stitches
Seams To Be Sew
I'm linking up with NTT,

