I've had this ornament tutorial on my to-do list since well before Christmas, but I'm only now getting around to getting all of the pictures edited so they could be added to the post. It's funny how we can get stuck on the smallest steps sometimes, isn't it? Better late than never, though, right? I'm saying I'm helping you be well prepared for next Christmas instead of dwelling on the fact that we're a month past Christmas already.
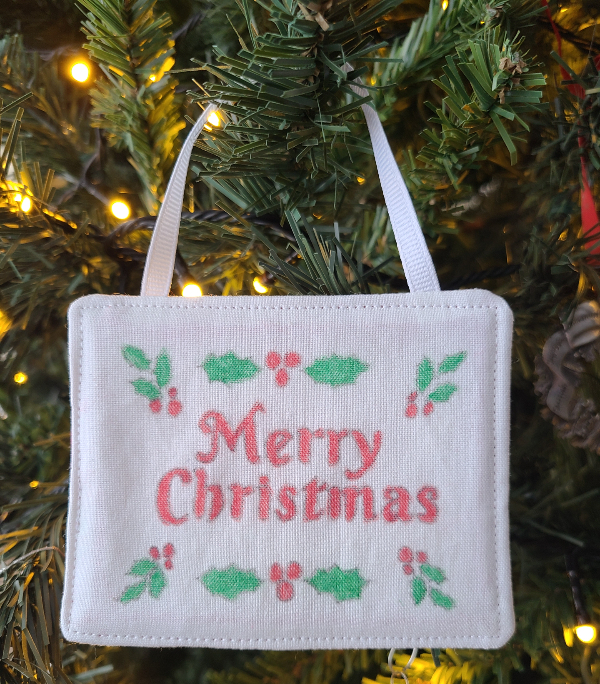
The fronts of these ornaments are coloured with crayons, making them a fun project to do with the kids in your life. As a bonus, the ornaments are pretty quick to put together using scraps of fabric and batting.
So, let's make some ornaments!
What you'll need
The first thing you need is an image for your ornament. I wanted text for mine, so I searched online for 'simple Christmas text clipart' and also tried combining 'clipart' with the words I wanted, like 'merry and bright.' You could also try simple colouring pages. If you're more skilled at drawing than I am, you could draw your own image or you could have your kids draw something. Keep in mind that you'll be colouring the image with crayons, so be wary of images with really tiny spaces, especially if kids will be doing the colouring. I found that the lights and leaves on mine were tough to colour neatly. Once you have your image, print it out at the size you want for your ornament.
You'll also need white fabric for the front of the ornament, fabric for the back, a scrap of batting, a 6" piece of ¼" ribbon, a pencil, crayons, paper towel and your iron.
Transfer the image to your fabric
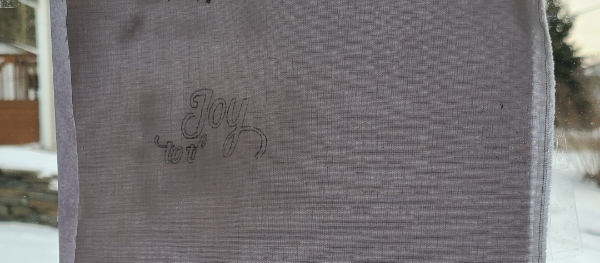
Trace your image onto your white fabric using a lightbox. My lightbox is the super-fancy version that came with the house. Only problem is, it only works during daylight hours!
I use a regular pencil to trace my image and I like that the lines stays visible even after I colour it. Whatever you use to trace the image, keep in mind that you'll be ironing it later on, and the heat will make some inks permanent. You can do a test on scrap fabric to be sure you can remove it before the ironing step or that you like it enough for it to be a permanent part of the image.
Make it pretty
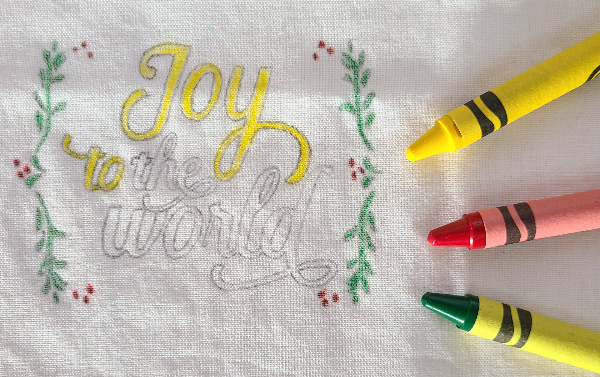
Then add some colour! I prefer to use Crayola crayons. I find that cheap crayons tend to leave blobs of wax behind as you use them, and I want to avoid that on my ornaments.
As you're colouring, you want the colour to be fairly dark as I find it gets a little lighter when the wax is removed in the next step.
Remove the wax
When you're finished colouring, place the fabric on a pressing surface with the design facing up. Cover it with paper towel, then iron it with a hot, dry iron. The wax will melt and be absorbed into the paper towel.
I like to press for a few seconds, then move the paper towel so a clean section is over the design and press it again. Keep going until there's no wax left on the design. If you rub a finger over the image you should be able to feel any smooth spots that indicate there is still a little wax to remove.
If you're making multiple ornaments at once, be careful not to reuse a section of paper towel that already has wax on it, to avoid the possibility of transferring coloured wax back onto an image.
Assemble the ornament
Trim the excess fabric around your design. I left ¾" on all sides of mine, so I'd have ½" margins after the ornament was sewn. Cut the batting and backing fabric the same size as the front.
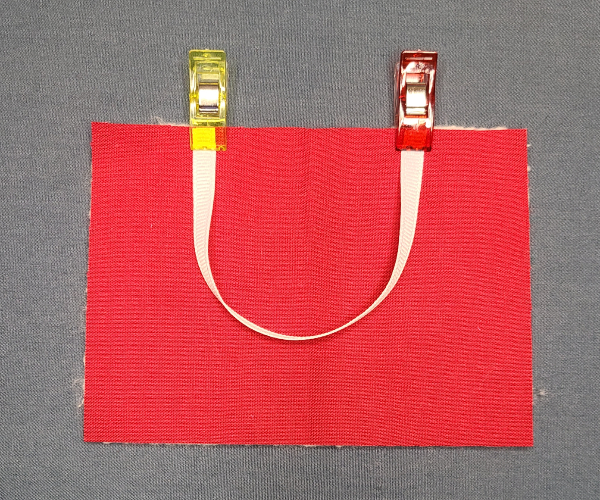
Lay your backing fabric on top of the batting. If your backing fabric was a wrong side, place it wrong side down on the batting. Position the ribbon as shown and clip it in place. I placed each ribbon end 1" from the side. If your design is smaller than mine, make sure the middle of the ribbon won't be caught in the seam allowance along the bottom.
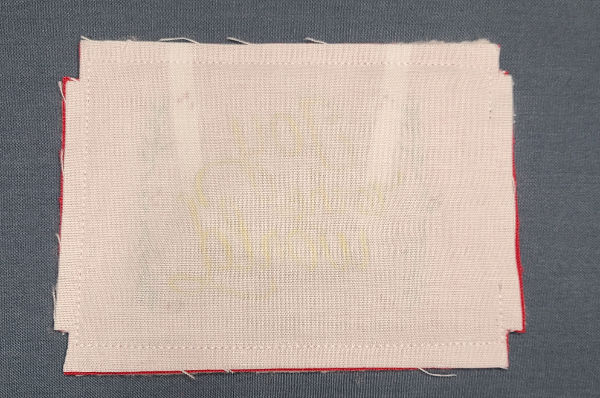
Place the ornament front on top, right sides together with the backing. Clip the layers together all the way around. I place two clips close together on the side where I'll start and stop, to remind myself to leave a gap for turning the ornament right side out.
Using a ¼" seam, stitch all the way around the ornament, remembering to leave that gap for turning. Backstitch at the beginning and end of your stitching. Clip the corners as shown here, being careful not to clip into your seam.
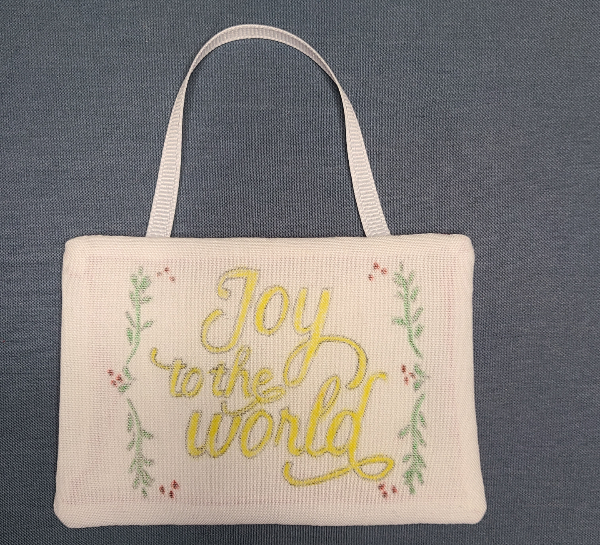
Turn the ornament right side out and gently poke out the corners.
Fold in the seam allowance along the gap, then press the ornament well.
Stitch close to the edge all around the ornament. This will close the gap and help keep the ornament nice and flat.
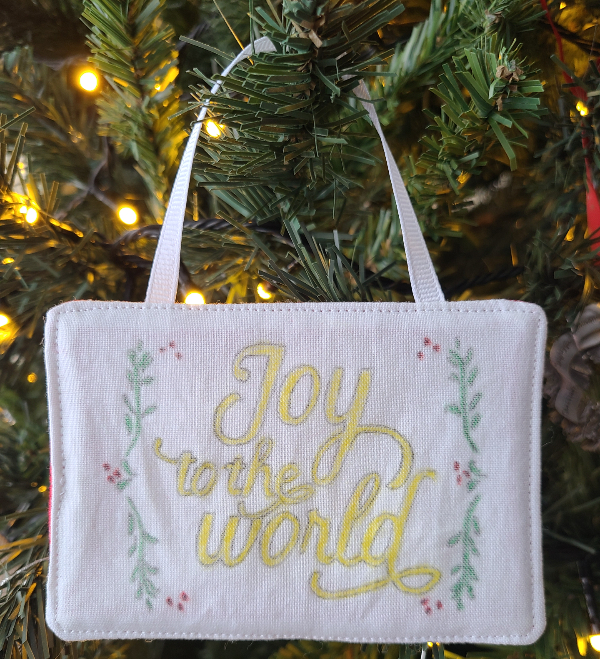
That's it! Just think of all the ornaments you could make! I'm thinking it would be really fun to give kids a piece of fabric to colour on, then surprise them with ornaments made of their art work.
Seeing as it's January, and you might not be making any Christmas ornaments for a few months, you can pin this tutorial to help you remember. If you're anything like me, you'll only have a vague sense of "I wanted to make some of those ornaments" when the time to actually do it arrives.


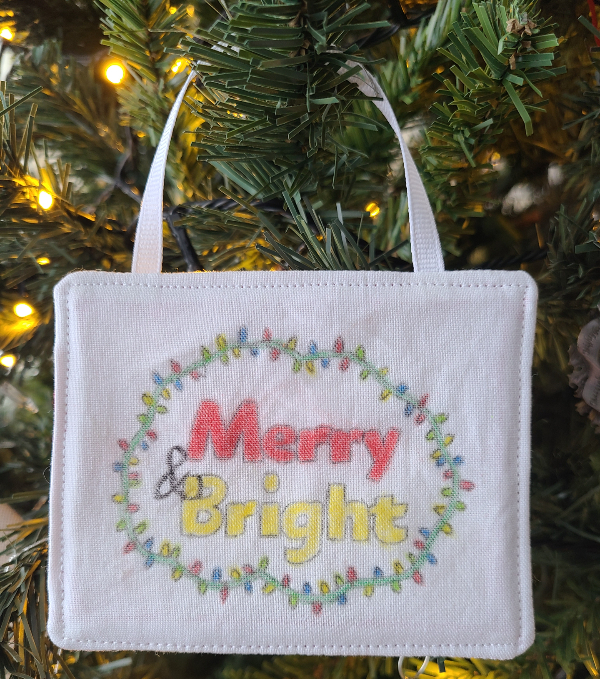


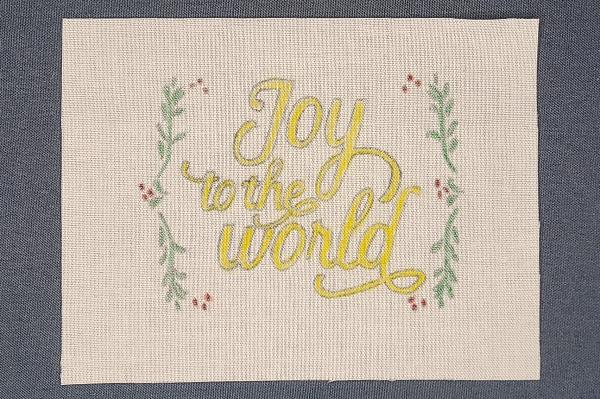



I really like how the outline lines stay visible, it adds a nice frame and touch to the ornaments. I bet kids would love to see their artwork transformed this way!
ReplyDeleteSweet! The lines give clarity to the finished project, too!!!
ReplyDelete