Welcome to the first TGIFF (Thank Goodness It's Finally Finished!) of November 😊 I may not be racking up dozens of finishes during this year's WIPS-B-GONE challenge, but I am making progress! And today I have another finish to share.
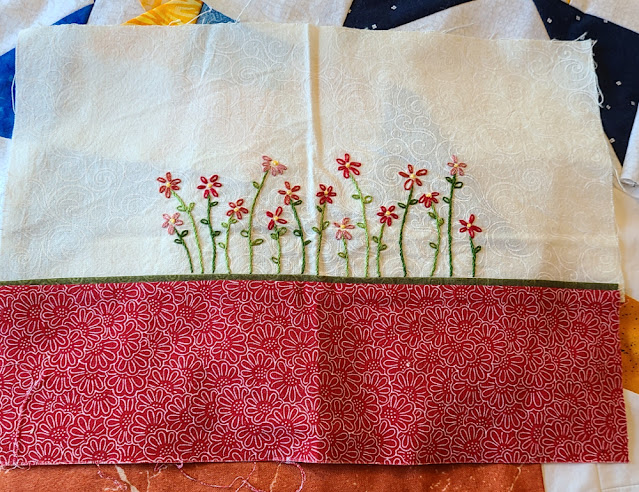
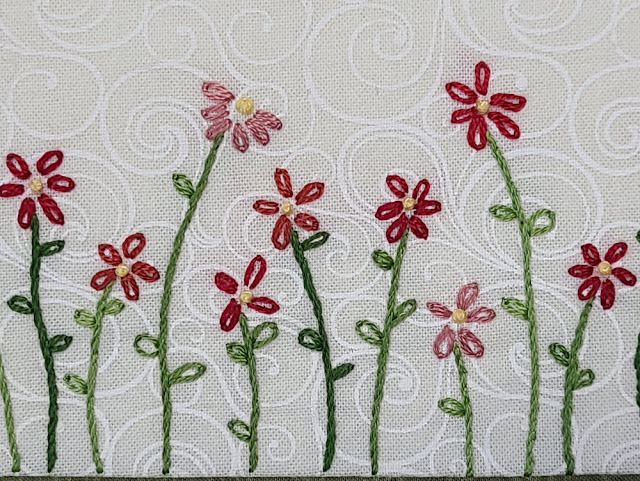
This embroidered mini piece was finished in March of 2014. That's right, 8 ½ years ago! It's shown here in a pile of WIPs that I pulled out while getting ready for the challenge. It was designed by Kristyne Czepuryk (a fellow Canadian) and I think I had found it in a magazine, but I can't remember for sure.
This embroidery was all done before I started using Aurifil thread, so it's done with DMC embroidery floss.
I actually made two of them and finished one as a mini quilt that I gave away on my first blogging anniversary. The second one has just been sitting and waiting ever since. During last year's WIPS-B-GONE, someone shared a small cross stitch they had finished by mounting it onto a fabric covered board or canvas and then onto a painted board. I loved the idea of mounting the piece instead of framing it and tucked the idea away for later. When thinking about how I wanted to finish this mini, I remembered the mounting idea and decided to give it a try.
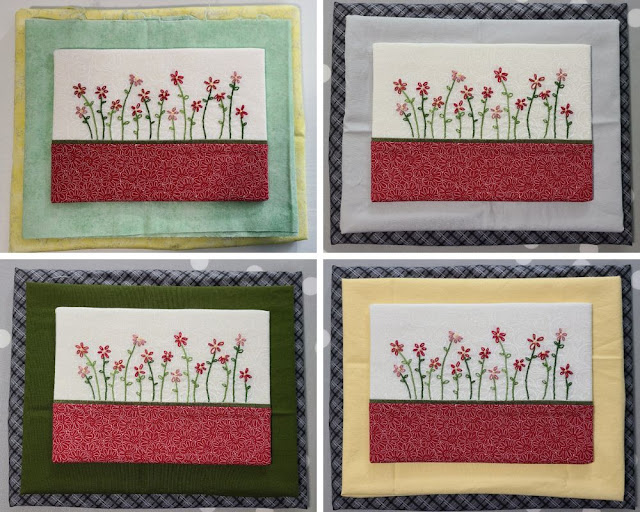
The embroidered piece could be trimmed to finish at 5x7, so I picked up three canvas panels at the dollar store that are 5x7, 7x9 and 8x10. I tried a bunch of fabric combinations...
I was finding it hard to get a good idea of how the fabrics worked together without having them trimmed to the proper sizes, so I decided to at least start with the embroidered piece. I used spray adhesive to attach a piece of batting to the 5x7 canvas and then wrapped the embroidered piece around and glued it to the back using plain old white school glue. It's not pretty on the back, but it won't be seen.Then I tried more fabric combinations...
Nothing really stood out as being 'the one' though, so I kept putting it aside. My friend Michelle suggested trying just one panel, rather than two, and that ended up being just right.
The green fabric is stuck to the front of the 7x9 canvas panel with spray adhesive and then wrapped around and glued to the back with the school glue, the same as the embroidered piece. It's not pretty on the back, either, and I think I'll glue a piece of scrapbooking paper or cardstock to the back. Not that I really expect anyone to turn it over to inspect the back, but I'd like it to look finished.
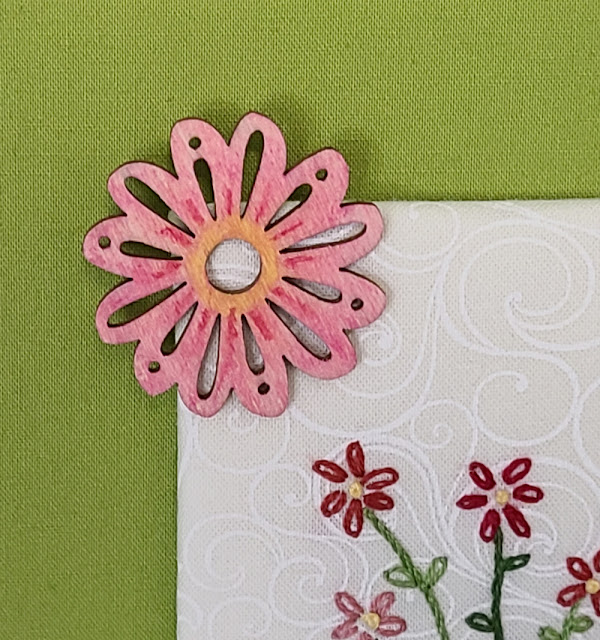
I picked up a pack of 8 little wooden, laser cut flowers at the dollar store, too. I coloured one using watercolour pencils, then dipped my finger in water to barely wet it and rubbed it over the flower to soften and blend the colours. I ended up adding more of the dark pink after softening the colour too much the first time. I attached it to the front with just a bit of glue. I used white glue to stick the two canvas panels together, too. Once all the layers were glued, I set it on the table with a couple of heavy books on top, to help everything really stick.
I'm thrilled to have this little embroidered piece finally finished and displayed! I'm intrigued now to see what other things could be finished like this and whether it would work for something like Christmas ornaments. The wheels are definitely turning and I can guarantee I'll never run out of things I want to make!
Now it's your turn! What have you finished this week? Link it up below so we can celebrate with you. Don't forget to visit some of the other links to celebrate their finishes, too!


Very cute. The green is perfect and the wooden flower sets it all off amazingly!!
ReplyDeleteOooh, it finished out beautifully and the green frames it perfectly, Leanne. You are so right, we are never going to run out of things to do, are we? :)
ReplyDeleteHow adorable, Leanne! I think you came up with the perfect finish for these sweet flowers. Though it would have been cute in a bag too, how many bags does one need?! Honestly, after many years of quiltmaking, the bag collection has grown to nearly unmanageable size! I appreciate knowing how you put this all together, and the extra-perfect touch is that painted wooden flower. Great job! If I come to visit, I promise I won't pick it up and look at the back! (ha, ha)
ReplyDelete