Welcome to Thank Goodness It's Finally Finished! In my case, the project itself didn't take all that long to make, but it has taken me awhile to get it posted 😊
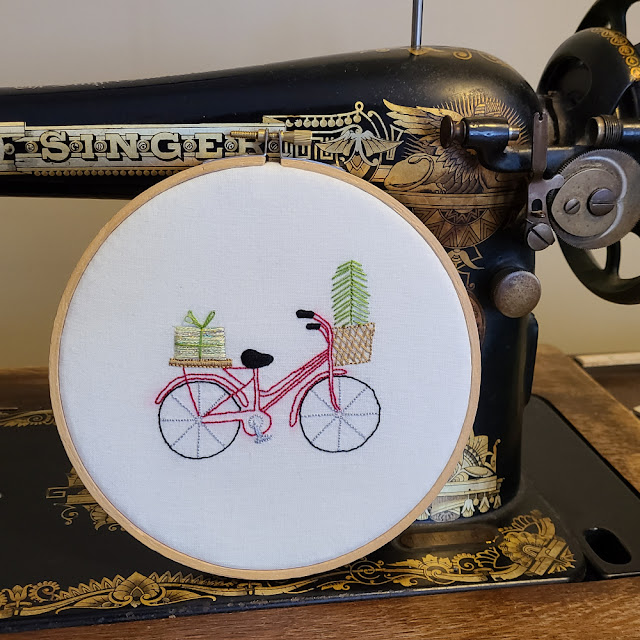
Sometime shortly before Christmas, I was scrolling Pinterest looking for I can't remember what, when I stumbled on a free pattern for a cute little Christmas bicycle embroidery. My brother and sister-in-law are avid bikers, so my first thought was that this would be perfect for them. My second thought was that there was no way I'd get it finished in time for Christmas, so I pinned it for later.
In January I wanted a quick, little something to work on, so this seemed like the perfect choice. When I printed the pattern, it had two images - a small one intended as the pattern and a larger one with arrows indicating which colour to use where. I don't have a small hoop that would fit the smaller size, so I traced the larger image as my pattern and it fit perfectly in a 6" hoop.
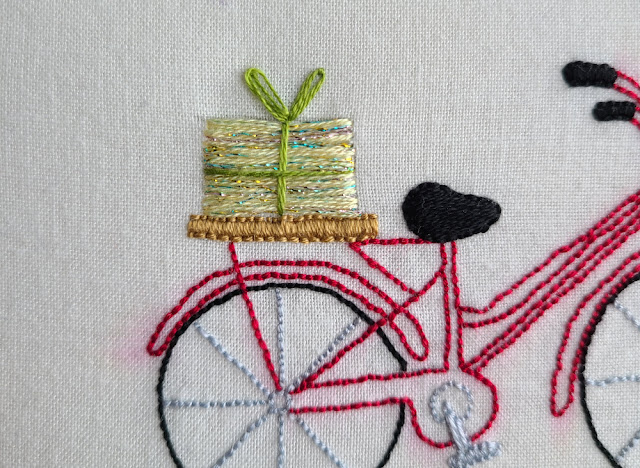
I used DMC embroidery floss for everything. I wanted a little extra sparkle for the present, though, so along with the floss, I used Kreinik blending filament 041, leftover from when I used to cross stitch regularly. I find the Kreinik metallic threads twist and tangle easily, so I'm not a fan of working with them, but they sure do add sparkle.
Once the embroidery was finished, I gave it a quick wash with some Dawn dish soap and while it was still damp I stretched it back in the embroidery hoop to block it. I've never had an issue with DMC floss not being colourfast before, but the red did bleed a little bit, unfortunately.
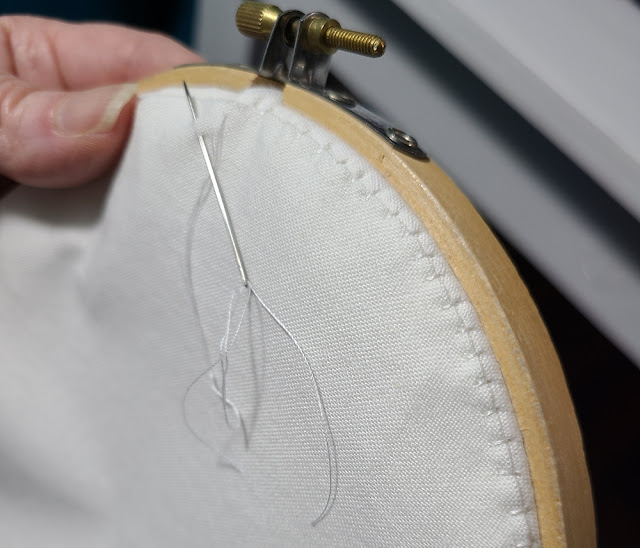
After the embroidered piece dried, I took it out of the hoop and added a piece of batting behind it. Tutorials explaining how to finish the back of a hoop all use felt, which I didn't have, so instead I traced the hoop onto freezer paper, then ironed that to a piece of the same fabric I used for the front and gathered the edge around it. It's not perfect, by any stretch, but it did give me a circle with no raw edge.
I removed the freezer paper, then stitched the circle to the fabric at the back of the hoop.
I also added one of my labels. I wish I thought to add the label before stitching the circle to the back of the hoop, but I didn't, so I had to be really careful not to distort the fabric as I stitched.
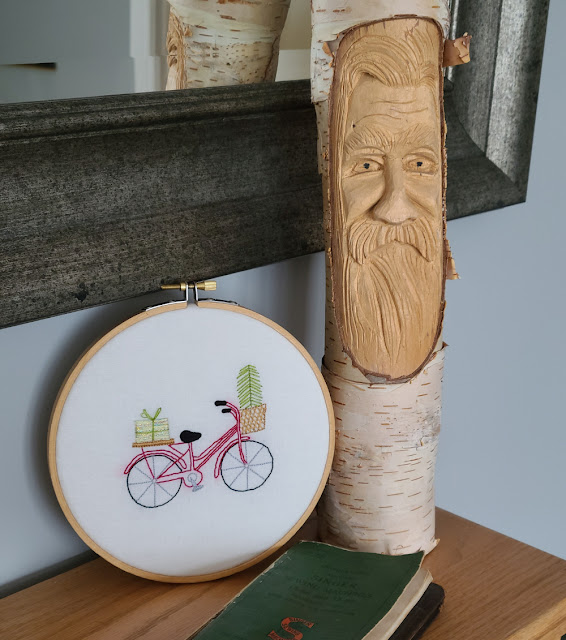
Stitching the label on did dent the back in a little, but not too bad.I'm so pleased with how this little project turned out! It looks pretty cute here with the wood spirit my Dad carved, don't you think? It's now with my brother and sister-in-law, all ready for next year's Christmas decorating. |


I'm a huge fan of surprising people with gifts throughout the year. I bet they will love having it to help decorate for next Christmas!
ReplyDeleteSuch tiny stitches! Love the sparkly present!!! And such a neat, tidy finish on the back! My dad did wood carvings like that also--love having those mementos and makes a great photo shoot!
ReplyDeleteWhat a sweet gift, and smart to upsize it to suit your needs!
ReplyDeleteLove it!! Such a sweet gift!
ReplyDeleteIt's super cute! I love the plant in the basket. I feel like if I had a bike with a basket, I'd bring home plants in it...lol
ReplyDelete