I taught my Paper Piecing with Freezer Paper workshop on Saturday with the Common Thread quilt guild in Ottawa, Ontario. It's so much fun to teach online from my living room! I've wanted to teach for years, but traveling isn't a great option for me because it takes so long to get anywhere from Newfoundland, plus I work a day job that makes it hard to travel often. But teaching from home is totally doable!
The morning of the workshop, I decided to make myself a pressing board to use so I wouldn't have to keep swinging the camera from the ironing board to my cutting mat. I could put the pressing board on top of the cutting mat when I needed it, then take it away when it was time to cut. I'm happy to say it worked really well 😊
I'm even happier to say, I remembered to take pictures as I made my pressing board so I could share a tutorial!
To make a pressing board, you'll need:
- a board of some sort. I used an old cupboard door that was already cut into a 15 ½" square. It's about 1" thick, but you could certainly use something a bit thinner. The board can be whatever size you want, just make sure it's big enough for you to comfortably press your pieces on.
- a staple gun with staples. Make sure your staples are not longer than your board is thick. You don't want the ends of the staples to poke through the front of the pressing board.
- 100% cotton fabric for the top layer of the pressing board. This is what you will see, so choose something you will love looking at! Since I was planning to use mine for online teaching, I chose a solid grey so the pressing surface won't be distracting.
- two layers of 100% cotton batting
- scissors for cutting the fabric and batting to size
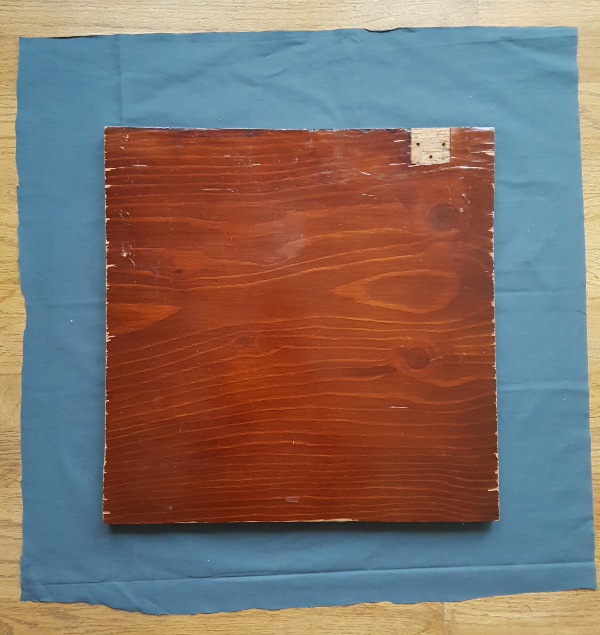
Start by laying your fabric out wrong side up and placing your board centered on top of the fabric. Cut all around, leaving at least 2" on all sides. As you can see, I just rough cut this with the scissors. It doesn't need to look pretty.
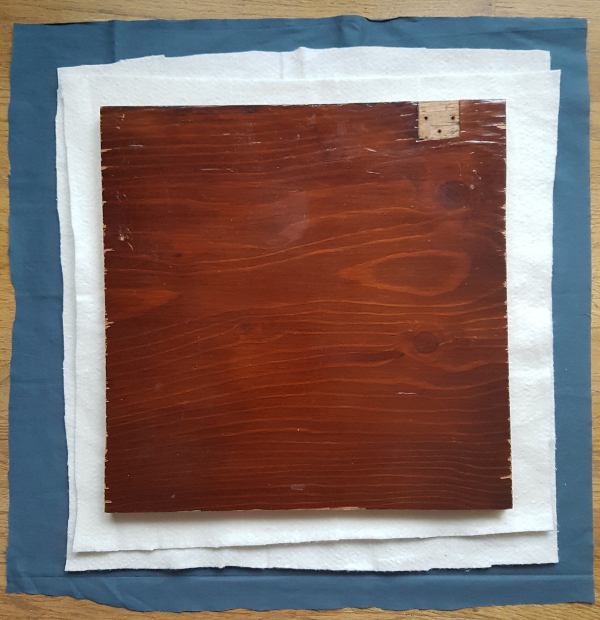
Cut the two layers of batting a little bigger than the board all around, but smaller than the fabric. You want to be sure the batting will wrap around to the back of the board. I was using batting scraps and one was a little smaller than the other, though still big enough to just wrap around to the back, so I put that one on top. That way it will be inside the larger piece when they're wrapped around. Next, wrap one side around and staple in the center, then near each end. Repeat with the opposite side, pulling the batting nice and tight again.
Repeat with the remaining two sides.
Now it's time to wrap the fabric around. I folded the raw edge under as I worked so the fabric wouldn't fray over time. Wrap and staple two opposite sides.
On the third side, staple the center first.Now it's time to wrap the fabric around. I folded the raw edge under as I worked so the fabric wouldn't fray over time. Wrap and staple two opposite sides.
To do the corners, I folded in the excess fabric towards the middle, then wrapped up the side and stapled. I was trying to get it as neat looking as possible. If you look closely, you can see that my staples weren't quite sunk all the way into my board (maybe the board was too dense?). After the workshop was over, I had my husband hammer them down all the way.Repeat with the other corner on the third side, then do the fourth side the same way. And that's all there is to it 😊 Enjoy your new pressing board!I'm looking forward to using mine again when I teach the freezer paper workshop next at the end of the month with Watergirl Quilt Co 😊 There are still a couple of spots left for that workshop, if you're interested. You can register here.
Be sure to pin this image so you can find it later!


A small pressing board is nice to have. In fact, your tutorial for making this is pretty much what I did with a wooden TV tray. Several quilter friends and I went together to buy a used set of four wood TV trays - so they were very inexpensive - and covered them with batting and silver ironing board fabric. I love having it beside me at the sewing machine when I'm needing to press small pieces as I go. I'm glad you worked out how to teach from home. I'd love to do that myself, but am hesitant due to not having more than one camera. Enjoy teaching!
ReplyDeleteI love small boards for pressing. I am trying to love a wool mat, but I almost feel like its not as great as everyone say. It was a cheaper one, so maybe that has some thing to do with it...but I doubt it.
ReplyDeleteI am not impressed with wool mats either! I don't really think they make any difference.
DeleteThanks for the great tutorial Leanne!
ReplyDeleteI'm wondering if using Insulbrite would work in this? I'm thinking with the silver side facing the fabric - so that when you press blocks the heat "reflects" back toward the piece you're pressing? Kind of like getting two jobs done at once?!
I had a 24-inch one, but I don't use it anymore since my new ironing "board" is a piece of plywood. But this is a great idea for your workshop. Congrats on the teching.
ReplyDeleteI have a small board also. I wrapped batting around the whole piece and then made a "pillowcase" for it so if it needs to be washed it is easy to take off and wash. It is about 18x24. I have it on top of my ironing board because it is just nice to have a bit more surface to iron on than the ironing board, plus I can press an entire fat quarter without moving it around.
ReplyDelete