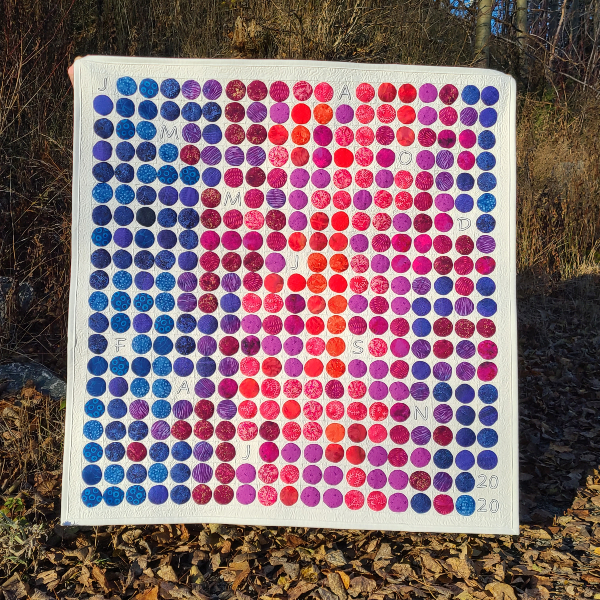
It's finally finished! I am so thrilled with how my 2020 temperature quilt turned out, even if it did take almost all of 2021 to get it finished 😂
This post from January 2020 has all the details about how I planned the quilt and made the blocks, if you're curious. The only change I made from the plan was to add a border on all sides so the binding wouldn't be covering any of the circles on the edge. And if you'd like to make your own temperature quilt, check out my How to Plan Your Temperature Quilt post.
For the record, my husband is tucked away behind that quilt! I didn't think it was possible for him to hide behind it, but he managed it. The quilt finishes at 30" x 31". I really didn't want a throw size temperature quilt, so this wall hanging feels perfect to me. I tell you, whenever I finally have a sewing room, I'll have plenty of things to decorate it with! Did you see my A Stitch a Day frameable print? It's just waiting for a chance to look great on a shelf in that sewing room and the temperature quilt will look great on the wall. Someday!
As usual, I spent a lot of time thinking about how I would quilt this quilt. I thought about quilting something in each of the circles, but they're quite thick because of how they're appliqued on, so I decided against that. Plus, that would have been a lot of starting and stopping, to do a year's worth of circles. I love how Ali of Exhausted Octopus quilts her Tiles quilts, but her tiles have more space around them than my circles do, so I decided against that, too. In the end, I decided to quilt around each circle and do a tiny stipple in between them, all with Aurifil 50 wt in white. I love, love, love the result!
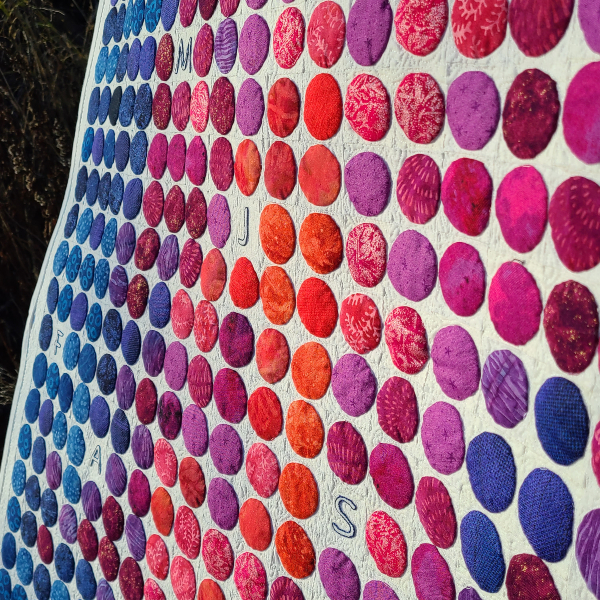
Just look at how puffy those circles are! Yes, they do feel every bit as amazing as they look and I love running my hands over them.
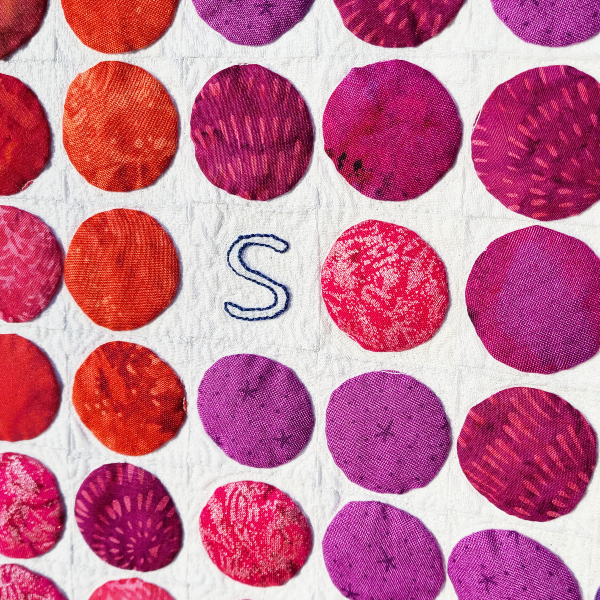
I stitched around the letters for the monthly markers and the numbers for the year, too. They're all embroidered with Aurifil 12 wt 2785 (very dark navy). I was worried I'd stitch over the embroidery with the quilting, but I was able to keep the quilting just a little away from the embroidery, which gives the letters and numbers a little bit of puff, too.
I wasn't nearly as good at going around the circles. Oops. The first time I nipped up onto the circle, I thought about ripping it out, but then I just kept going. I figured it would probably happen on more than the one circle, but I also figured it probably wouldn't be that noticeable when I wasn't so close to it. I was right on both counts, lol. I have no idea how many circles have a few quilting stitches on their edges, but there are quite a few. You can see a couple of them in the picture above.
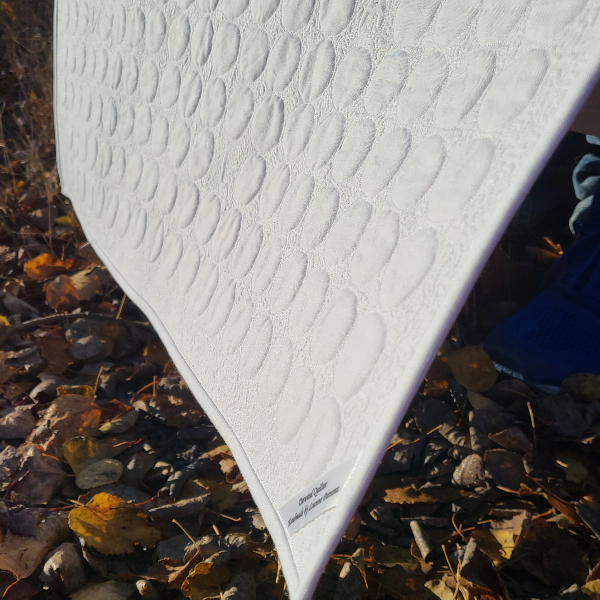
The quilting looks so good on the back, too.
I went with a simple white binding so the temperature circles wouldn't have anything competing with them and I like the simplicity it gives to the back, too.
It has been interesting to compare last year's temperatures with this year's. For example, for 2020, our first day with a high above 0℃ was February 23rd. This year it was January 6th and there were 6 days above 0 in January.
I had to use one circle representing -13 to -15℃, but this year I wouldn't have had to use that fabric at all. Yet, obviously, but I don't think it will get that cold before the year is over. That's more a February/March kind of temperature.
December of 2020 was unusually warm, which is why there are so many circles representing warmer temperatures right up to the last column, which represents the 14th to the end of the year. There are 5 circles in that last column representing above 0℃ temperatures, one for 1-3℃ (the 21st), one for 4-6℃ (the 25th), and three for 7-9℃ (the 22nd, 26th and 27th). Since I can't yet compare this year's December temperatures, I looked back to 2019 for the same dates. That year December 15th was 8℃ and then every day to the end of the year had a high temperature that was 0℃ or colder. For 2018, the 22nd and 23rd were both 5℃, but the rest of the column was 0℃ or colder.
A temperature quilt needs a label that explains what all the fabrics mean, so I made one to put on the back, but you may notice there's nothing actually written on it yet. That's because I've put in a request to Santa for fabric markers for another project, so I'll wait and write the temperatures and our town on it with a fabric marker after Christmas before attaching the label to the quilt.A temperature quilt was a fun project and I'm glad I made it. I'm also glad it's finally finished! I'm not sure if I'll ever make another one or if this is more of a one-and-done sort of thing for me. Looking at this one does make me very happy, though.


The quilting is perfect for the quilt, Leanne, and I love that you added a border to give a bit of breathing room to the temperatures. It came together so well and I love how you have each month noted and that the year fills out the grid so perfectly. Hooray for this one being finished (and beautiful photography)!
ReplyDeleteOh, I'm smiling... first, because your quilt turned out so pretty! Mother Nature is such a good color-planner. And second, because I fully appreciate your quilting that "nipped onto a circle." At the moment, I am free motion quilting around hand-appliquéd circles, and have had white 40-weight Aurifil nip onto circles. It's so good to be reminded that when free motion quilting on a domestic, we have to give ourselves more grace about those nips and bobbles. I'll return to my project with greater purpose and forgiveness for those imperfections. They're what give domestic machine quilted quilts "character." I'm happy for you to have finished your temp quilt, and that before too long you get the dedicated sewing room you deserve!
ReplyDeleteGreat quilting! Wonderful finish!!! What batting did you use, Leanne?
ReplyDeleteIt's wonderful. Congrats on the finish.
ReplyDeleteOh SEW pretty, Leanne!! Congrats on finishing up your Temperature quilt.
ReplyDelete