Welcome to my stop on the Back to School blog hop! This hop is full of tips and tricks to help you take your quilting skills to the next level, so be sure to check out the links at the bottom of this post to see what everyone else is sharing. As the post title says, I'll be showing you how to trim HSTs without a specialty ruler.
Before I get into my tutorial, I want to invite you to join me for WIPS-B-GONE 2022. We quilters love to start new projects, but we don't always wait to finish the current project first, which means we can accumulate a bunch of unfinished things. I'm certainly guilty of that! Rather than dragging those WIPS into 2023 with us, let's get them finished! Through October and November we'll focus on getting our WIPS past the finish line, with fun printables, Monday Motivation emails and prizes along the way. I hope you'll join me!
Sign up for WIPS-B-GONE 2022 here!
And now, on to our featured presentation 😊
HSTs are an amazing building block in quilt design, but they're notoriously hard to stitch perfectly. That's why I love to make my HSTs a little oversize and then trim them down. We may only be trimming off a sliver at a time, but those slivers make a big difference.
There are specialty rulers made just for trimming HSTs, but I'm going to show you how I trim mine without using a specialty ruler. I'm a bit of a tool minimalist, I think, or maybe I'm just cheap, lol.
Make the HSTs
I like to use the 2-at-a-time method. I'm going to make mine 2" finished, but this same trimming method will work regardless of what size HSTs you're making.
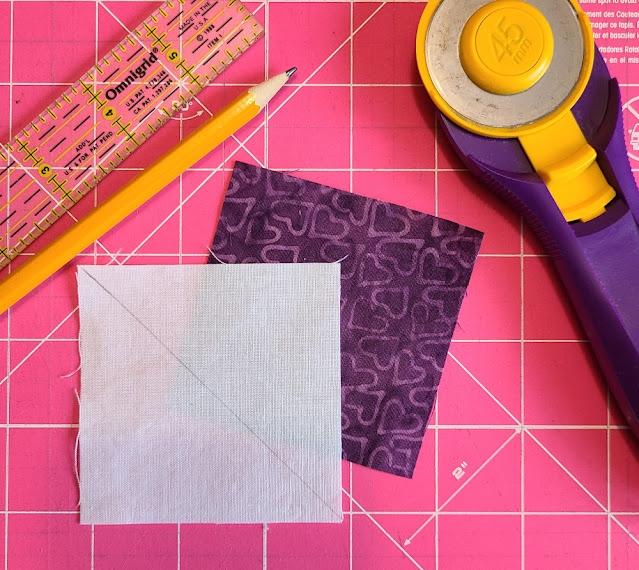
If I wanted to cut my fabric the exact right size, I'd add ⅞" to the finished size I wanted, so I'd cut my squares at 2 ⅞", but since I want to make them big enough to trim later I'm going to add 1" to the finished size, which means I'll need two 3" squares. Whatever finished size you want your HSTs to be, add 1" to get the cut size for your squares.
On the wrong side of one of the squares, draw a diagonal line from corner to corner.
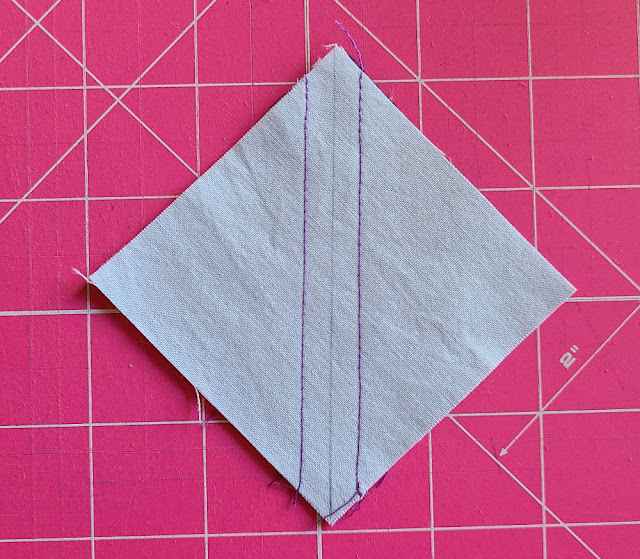
Then, with the squares right sides together, stitch ¼" away from both sides of the line.
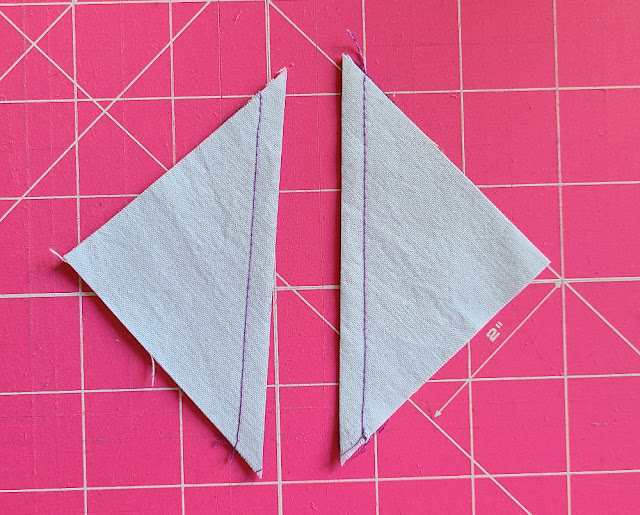
Cut apart on the drawn line, then press both HSTs open.
Trim the HSTs
I like to use either a small mat that I can turn easily or to position my bigger mat on the corner of the table so I can work from two sides. That way I don't have to move the HST in order to trim all four edges. Of course, if you have a rotating mat, this would be the perfect time to use it. Again, I'm a tool minimalist, so I don't have one of those, either 😊
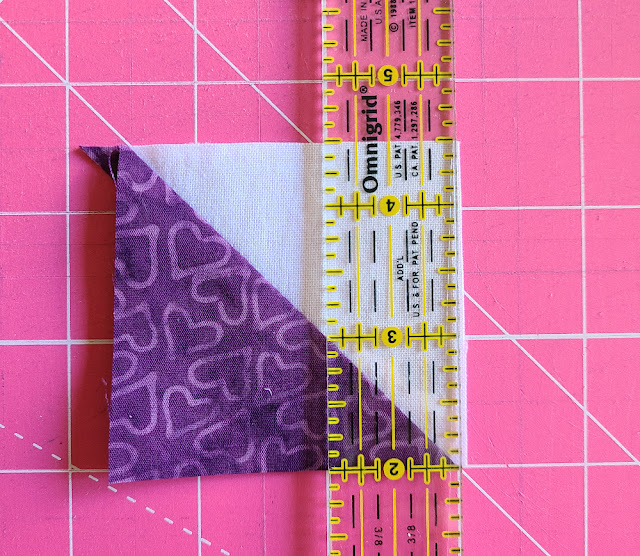
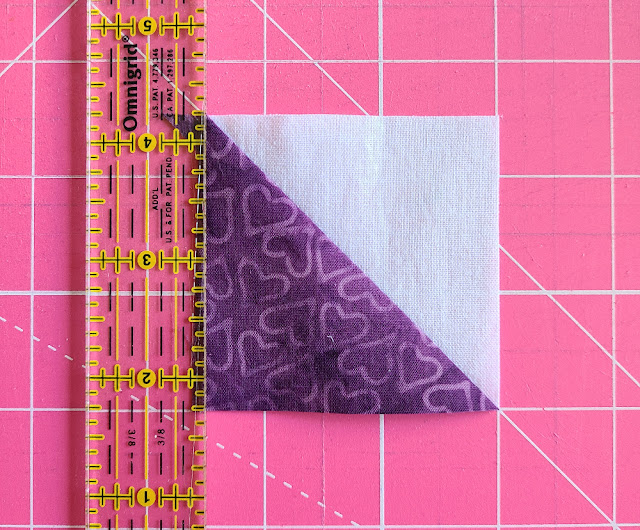
Position the HST with the seam lined up with the 45° line on your ruler. Look at all four edges of the HST to be sure they are past where you want to trim. For me, I place it so the left hand side is just beyond a line, the right hand side is a little more than ½" past the last line, the bottom is just below a line and the top is a little more than ½" above the top line.
I use my 1x6 ruler for this, but any ruler will work. I trim the right hand side first, with the ½" line of the ruler on the line.
Then I trim the left hand side, with the ruler directly on that line. The HST is now exactly 2 ½" wide.
Now I either turn my mat, or move to the side if I'm working on the corner of the table, so that the two untrimmed sides are to the left and right again. Once again, trim the right hand side. For me, that is now the side that gets trimmed with the ruler right on the line.
Then trim the left hand side, which for me means trimming with the ½" line of the ruler on the line.
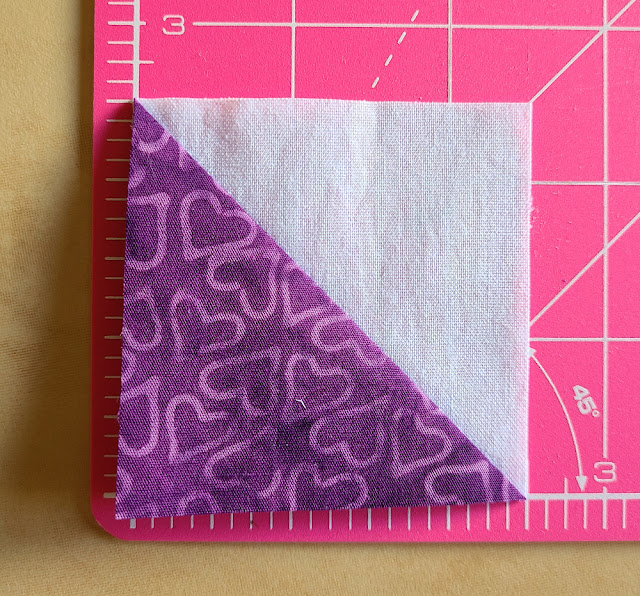
And now we have a perfectly square 2 ½" unfinished HST that will finish at 2" when sewn in 😊 Mine doesn't look perfect in this picture because the purple fabric refused to lay flat, but I assure you it is square!
Be sure to visit the rest of the Back to School blog hoppers to see what tips and tricks they're sharing!




I love that you are a tool minimalist. We really don't need all of the gadgets in order to quilt! Beautifully illustrated. :)
ReplyDelete